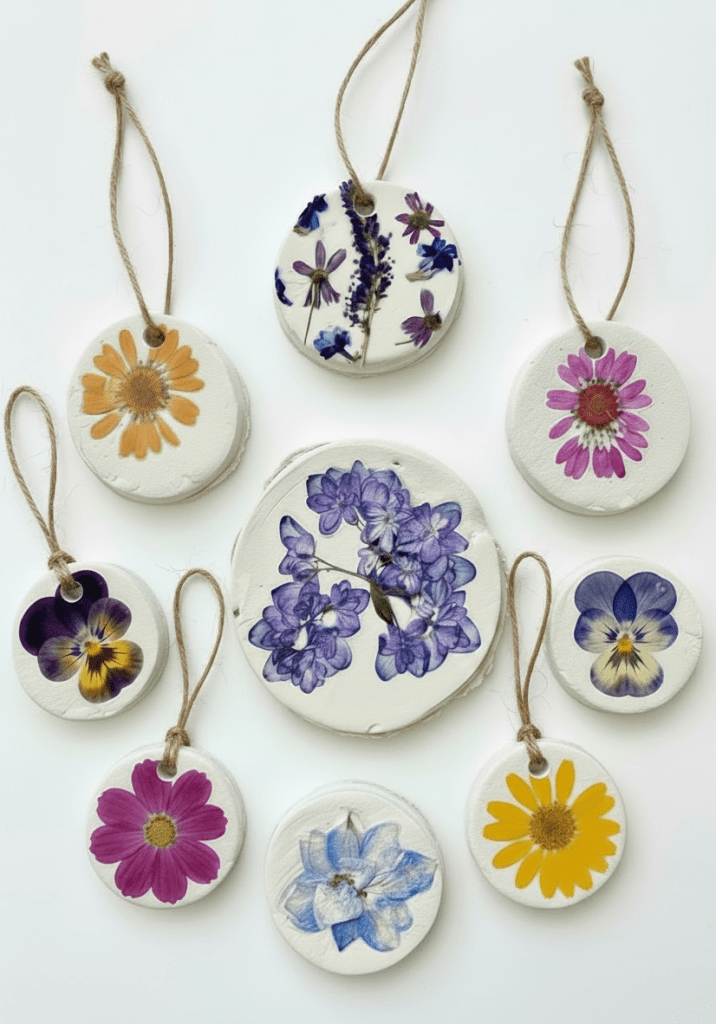
Looking for a wonderful nature craft for kids this summer? These DIY Dried Pressed Flower Ornaments, Magnets, and Coasters are made with air-dry clay are a fun, hands-on activity that encourages creativity, strengthens fine motor skills, and helps children explore the beauty of nature.
Whether you’re a nanny, parent, teacher, or au pair, this simple craft transforms colorful pressed flowers into beautiful keepsakes, homemade gifts, or seasonal decorations that children will treasure.
For young children you can make this activity easier for them by making the clay ornaments, magnets, and coasters yourself and dry them prior to having the children attach dried pressed flowers with modge podge after the clay is completely dry.
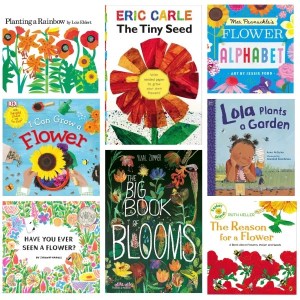
Be sure to read my favorite children’s books about flowers by clicking here to make this activity a great summer lesson plan with the children in your care.
Check out more flower lesson plans and activities from my blog by using the search engine above or by clicking the following links: pressed dried flower sun catchers, salt dough nature prints, “Planting a Rainbow” lesson plan, dried flower Valentine’s, pressed flower cards, tissue paper flowers, flowers made from paper plates, flowers made from cupcake liners, making flowers from Perler beads, and flowers made from coffee filters.
You Will Need:
Kids Scissors
Craft Mat
Air-Dry Clay
Fresh Flowers or Pressed Dried Flowers
Flower Press or Microwave Flower Press
Air-Dry Clay
Rolling Pin
Round Cookie Cutters
Drinking Straw
Baking Sheets
Parchment Paper or Waxed Paper
Mod Podge
Paintbrushes
Twine, String, or Self-Adhesive Magnets
What to Do:
1. Read children’s books about flowers with the children in your care.
2. Using safety scissors have children help cut fresh flowers in their yard. Or, buy dried pressed flowers on Amazon.
3. Press fresh flowers in a flower press or use a microwave flower press to quickly dry the flowers.
4. Protect work surface with a craft mat. Have children use a rolling pin to roll out air-dry clay to about 1/2 thickness.
5. Place dried flowers onto the clay and gently roll the flowers into the clay.
6. Use a circle cookie cutter to cut out the ornament, magnet, or coaster.
7. Use a straw to make a hole at the top of the clay ornament, magnet, or coaster.
8. Place the clay on a parchment paper or waxed paper lined baking sheet and allow to dry.
9. Once the clay is completely dry, use paintbrushes to coat modge podge on the ornaments and coasters to protect the flowers.
10. Once dry, string the twine or string through the ornament holes or adhere the magnets to the back of the dry clay.
Project and Photo by Stephanie Felzenberg
As an Amazon Influencer, I earn on qualifying purchases at no extra cost to you.


Leave a Reply